Theraputty and play-doh are great resources for developing children's fine motor skills, including hand and finger strength, grasp, and precise movements. Fine motor strength and skills are important for so many activities at school, home and play. Examples include writing, drawing, cutting, getting dressed (think buttons and zippers), brushing teeth, using cutlery, and tying shoelaces.
Play-doh is easy to buy in department stores or to make at home, and Theraputy can be bought online from therapy and sensory stores.
For kids who struggle with fine motor skills, it can be difficult to practice. So making it fun is important to help them learn and develop their skills. Here are 5 fun ways you can use putty or play-doh to improve fine motor skills:
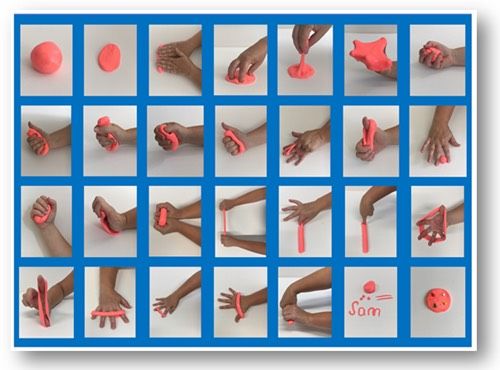
1. Treasure Hunt - hide beads and small items in the putty or play-doh and ask your child to find all the items. You can also make it a race to see how many items they can find within a time limit. Letter beads could also be used to encourage literacy skills during this activity.
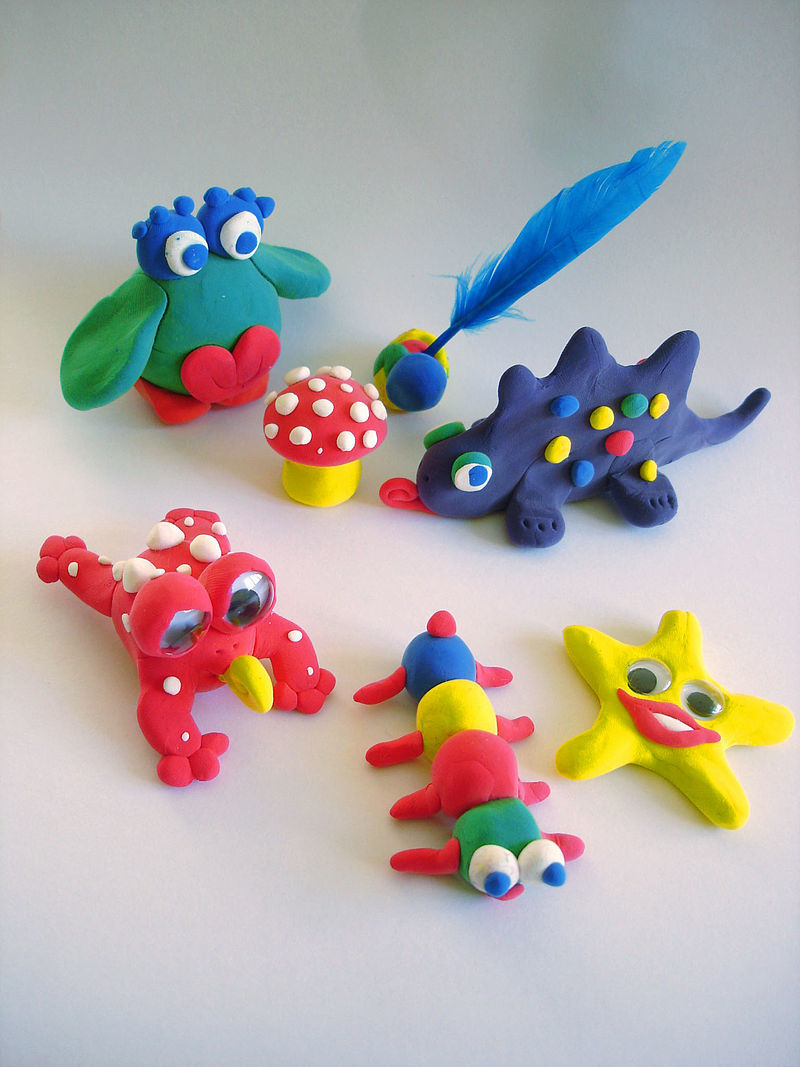
2. Pinch Monsters - roll a ball and then pinch, pinch, pinch to make your monster spiky! Add eyes and a mouth, maybe also some hair and hands, and you have a pinch monster! You can also create other characters - let your child's imagination run wild!
3. Noodle races - see who can make the longest noodle with a timer on by stretching out the putty, or by rolling out play-doh. If your child has mastered this, you can challenge them to only use 2-3 fingers on each hand to touch the putty. This can help develop pincer grip.
4. Sausages and pancakes - you can turn putty or play-doh into imaginative play, such as by making pretend food. Rolling sausages, and flattening putty or play doh into pancakes, making donut tubes, or rolling grapes etc. are great ways to work on strengthening hands in a creative way. You can also use cookie cutters to add some variety to this activity.
5. Alphabet Spaghetti - roll the putty or play doh into sausages or noodles and use it to shape letters or spell words. You can also use some laminated letter cards to trace the letter formations for beginner and developing alphabet learners.
How to make the easiest homemade Play-doh recipe:
Super quick and easy to make (you can make a batch in about 5 minutes) and much cheaper than buying ready made play-doh.
It's just plain fun to have the kids help you make their very own play-doh recipe!
- All purpose flour
- water
- cream of tartar*
- cheap table salt
- vegetable or canola oil
- gel food coloring**
*I highly recommend buying a large container of cream of tartar, such as this one; it's much cheaper than the tiny ones from the grocery store!
**I highly recommend using gel food coloring; not only does it last a LONG time (a little goes a long way), but you'll need gel food coloring if you want the vibrant colors you see in this post.
1. Add flour, cream of tartar, and salt to a saucepan
Add 1 cup of flour, 2 teaspoons cream of tartar, and 1/3 CUP of salt* to a 2-quart saucepan.
*Yes, that is 1/3 cup of salt. If you use 1/3 teaspoon or tablespoon, you'll end up with very sticky play dough. The salt works to keep your homemade play-doh from sticking and also helps preserve it, so you definitely want the full amount.
2. Add water, vegetable oil, and food coloring.
Add a few drops of food color to 1 cup of water, then stir into the flour mixture along with 1 Tablespoon vegetable oil.
3. Cook and stir until your play-doh starts to solidify.
Heat your burner to medium/low and stir.
It will be a little lumpy. That's okay
Keep stirring until it starts getting a little solid. If there are still a few lumps, that's ok, you can work them out later.
If your stove is already hot or you have a gas stove, this will only take 20-30 seconds, but it may take 2-3 minutes if your electric stove is still heating up.
4. Keep stirring.
Keep stirring your play dough mixture.
As you can see, I USED to add the food coloring at this point and you can too, however it IS easier to add it along with the water.
Now the dough will start becoming thicker and a little lumpy. Just keep stirring.
Once the dough starts gathering together around the spoon you know it's done. This may be 20 seconds or 2 minutes; it depends on how hot your stove is.
My first batch of easy homemade play-doh took a bit longer, but once we got going, it literally only took a few seconds and a total of 2 minutes from start to finish for each batch.
5. Remove from the saucepan and cool.
Remove your homemade play-doh from the saucepan and put it on some waxed paper or a plate to cool.
6. Squish and knead your doh to remove lumps
Once it's cooled, I like to knead the play-doh for a minute or two to get out any lumps and to get it to a better consistency. Then again it could just be my excuse to squish it myself before handing it over to the kids........it is kind of fun.
That's it! You've made homemade play-doh!